I recently had a friend ask me for some tips on how to get started with sensory play. Her son has a motor disorder and the doctors tell her that sensory activities would be good for him, but she isn’t sure where to start. It can be overwhelming. Searching “sensory” on Pinterest will generate a wealth of activities, but even more than acquiring a new to do list, sometimes it’s best to start with inquiring about the importance of this “new fad” and the ‘how to’ will follow. I’ve laid out this article in terms of frequently asked questions that a lot of people have when they hear sensory play mentioned. I know I had a lot of them before we delved in, so take your time and learn about why sensory play is important and how to set up these fun experiences for your kids!
What is sensory play, and why is it important?
Sensory play is not a “new fad,” rather it has been around as long as people have. The term may be new, but any play that involves using one of the five senses is sensory play! Whether kids are swinging, coloring, eating a snack, or playing in the sensory table they’re engaging their senses and that’s great, because that is primarily how young children learn. They don’t learn from lectures, from reading books (on their own) or audiotapes, they learn through exploring. When a parent guides sensory play, they are able to step alongside the child and help them add vocabulary to the rich world they are discovering.
As a parent, you can talk through what the squishy dirt feels like as you garden with your two year old. You can talk about the bugs that live in the dirt with your three year old, how a plant can utilize that dirt you’re tilling with your four year old, you can name the parts of a flower with your five year old. On and on it goes, sensory play is inexhaustible as a learning resource! Any age, any stage can benefit from child led, parent guided sensory play.
How do you ‘do’ sensory play?
Almost any activity can be deemed sensory play, mostly, I think intention is what sets purposeful play apart. Below is a list of common children’s activities that can be guided with parental interaction.
- swinging- talk about the feel of the wind rushing over your body, the feel of your muscles working to propel you forward and back, talk about how things look different from up high versus on the ground, discuss the smell of the great outdoors
- washing dishes- discuss the feel of water running over your hands, the difference between warm and cold water, play in the bubbles, feel the scrub brush and sponge
- brushing teeth- talk about the taste of toothpaste, the feel of the brush bristles on your gums, teeth and tongue, the minty smell, the scrubbing sound
- eating- talk about your food and where it comes from, what it smells like, what other foods you’ve eaten with the same ingredients, how they’re similar or different
- taking a bath- look at a dirt hand and then a clean one after you dip it in the bath, feel the bar of soap as you scrub with it, feel your hair as you wash it, the warm or cool water, feel the rain pellets of the shower, listen to them fall
- playing with blocks- listen for the kaboom when the tower falls down, feel how they lean when they’re a little bit crooked
- gardening- feel the dirt beneath your toes, play in the leaves, smell the flowers, talk about the cycle of life, feel the sunshine, wind or rain, listen to the bees buzz
- jumping on a trampoline- feel your body leave the ground, feel the kerplop as you land, feel the wind rush against your body, listen to the laughter
- playing in the snow- feel the cold, white stuff, spray colors on it, pour water on it, watch it melt, mold it until it’s hard, build with it, bury yourself in it
- bird watching- listen to the sounds of nature, observe everything, smell the earthy scents, experiment with binoculars
- listening to music- feel the base, move to the beat, clap your hands, stomp your feet!
- playing in a sensory table- So much to learn here, I’m going to go in to this one in more depth. 🙂
What is a sensory table and why are they awesome?
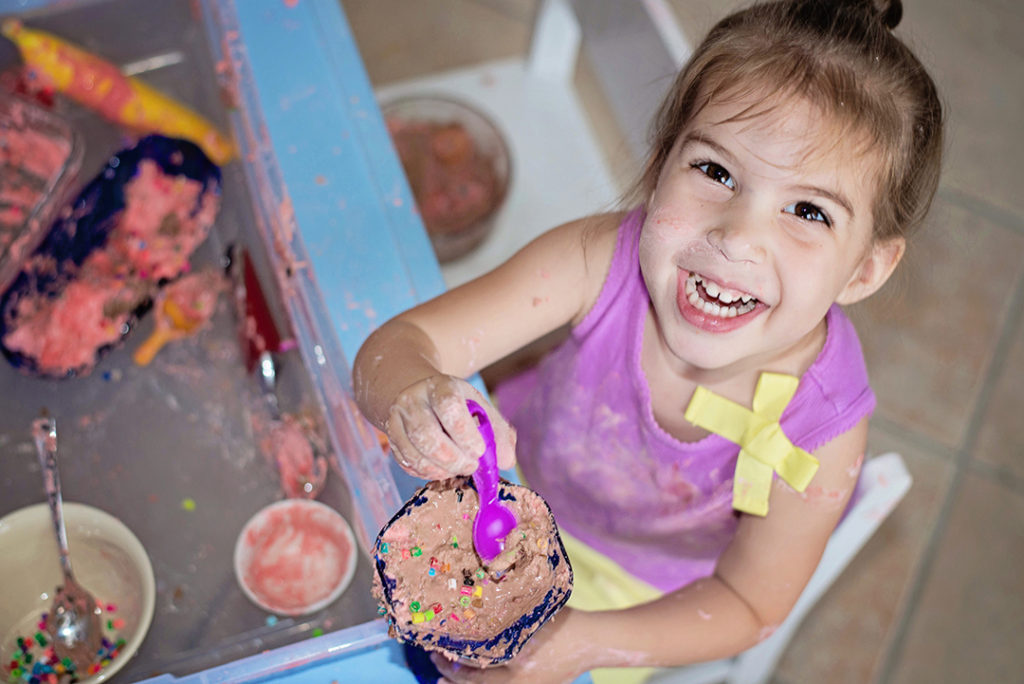
A sensory table is a great way to simulate some of those excellent sensory experiences listed above in a controlled environment. For example, when it’s too cold to go outside and garden, bring the dirt indoors to your sensory table. When you don’t really want your toddler helping you wash your fine china, set them up with their own bucket of water and plastic plates. The sensory table is a great way to introduce kids to new experiences in a setting where the mess and distractions are contained.

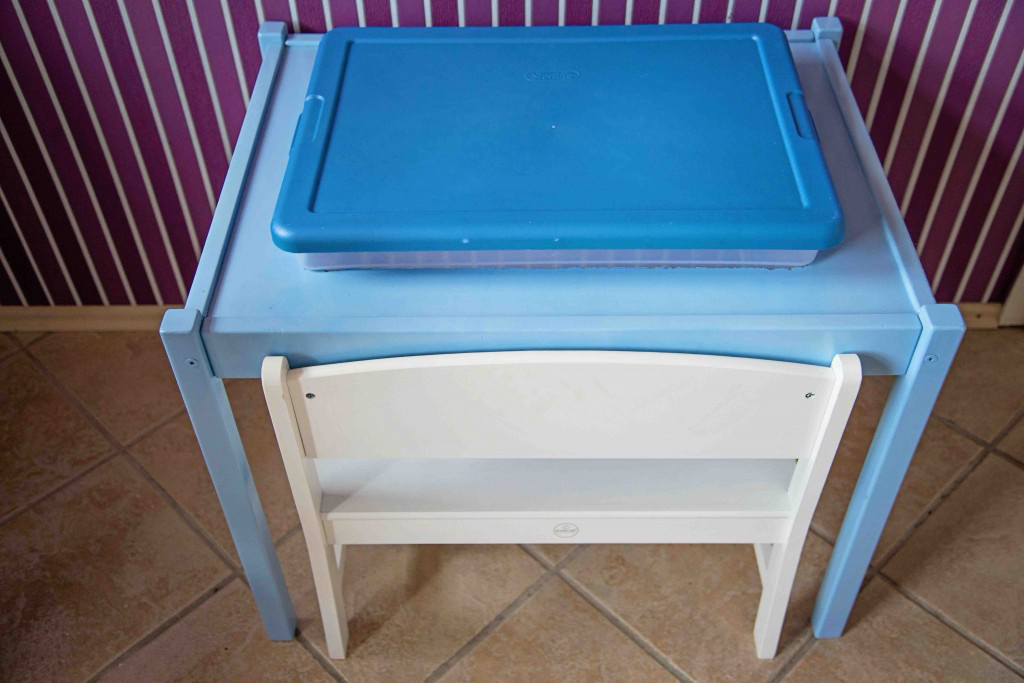
As far as the table itself goes, here is the one we built from a free kids table and a plastic bin, they don’t have to be fancy. They also don’t even have to be a table. Your sink, bathtub, or any old bowl/pot/dish will do. When we started, we used a plastic bin without a table to support it, just sitting on the ground. It definitely fulfilled its purpose, but some of the drawbacks (in my opinion) are that kids can climb in to it that way, and they can dump out all of the materials. When we built our bin in to the table I felt like I was much better able to guide their play without without having to police behavior as much.
What materials should I start with?

Sensory materials can be just about anything, your kitchen cupboards are a great place to start! Here is an inclusive list with recipe links:
- Flour
- Beans
- Oats
- Pasta
- Rice
- Cornstarch
- Baking Soda
- Cereal
- Oil
- Vinegar
- Food coloring
- Essential Oils
- Borax
- Glue
- Liquid Starch
- Water Beads
- Gravel
- Rocks
- Sand
- Dish Soap
- Pony Beads
- Packing peanuts
- Pom Poms
- Feathers
- Cooked Spaghetti
- Jello
- Dirt
- Water
- Coffee
- Shaving Cream
- Hair Conditioner
- Epsom Salt
- Whipped Cream
- Insta-Snow
- Corn
- Paint
- Cotton balls
DIY Recipes
- Gak
- Cloud Dough
- Play-Doh
- Modeling Clay
- Floam
- Oobleck
- Coffee Dough
- Clean Mud
- Ice Cream Dough
- Faux Snow
- Moon Sand
- Foam Dough
- Soap Foam
- Sand Dough
- Gelatin
- Marshmallow Dough
- Cornstarch & Baking Soda Clay
- Peanut Butter Dough
- Salt Dough
Accessories for Play
- Dough Tools
- Animal Figures- my favorites: Wild
, Pets
, Desert
, Coral Reef
, Rainforest
, Insects
, Dinos
- Trucks
- Boats
- Spoons
- Bowls
- Measuring Cups & Spoons
- Tongs
- Baster
- Paint Brush Set
- Magnifying Glass & Tweezers
- Magnet Set
- Action Figures- my favorites: Polly Pockets
, Duplo Figures
, Imaginext Figures
- Beginner Chopsticks
- Blacklight
- Cookie Cutters
- Glass Gems
- Seashells
- Alphabet Magnets
- Large rocks, sticks, other natural objects
How do I set up a sensory bin?
Setting up a sensory bin can be as simple or as elaborate as you and your child want it to be. You could take one of the base materials listed above, such as flubber, add a few spoons and bowls with it and be done. Or, if you have an older child who enjoys imaginative play, you could set up your bin as a small world. My daughter loves to play make believe and she also loves animals, so knowing this I choose to set up most of our sensory play as various animal habitats. I can teach her about which animals live in the environment and she can explore, hands on, pretending all the way! Do what works best for your family, discover which themes and materials your children enjoy and start there!
There are so many great resources for ideas on a plethora of different blogs, the best way to find them would be to search on Pinterest, here’s a link to my board filled with different ideas for sensory bins and small worlds!
How do I guide my child during sensory play?

The first thing I recommend, is to set up the bin in a space that you feel comfortable with getting a little messy. Take the necessary precautions, like removing shirts or laying down towels that you need to to feel comfortable letting your kids have freedom with their play. I then invite the kids to play in the bin, first letting them explore it on their own before offering any suggestions of my own. It’s always so interesting to me what my kids do and say before I interject with any conformist, adult information! For example, they aren’t conditioned to play with materials in a certain way, they don’t know that play dough is generally rolled out with a rolling pin and that cookie cutters are used to cut it, even if those are the only accessories I’ve provided. Rather, they may might roll out a snake with the dough and string the cookie cutters on it to make a necklace. It’s always more fun for me to see what they come up with on their own!
After they’ve explored independently for a bit, it’s good to show them new possibilities that they may not have discovered on their own yet. They may have already seen that oobleck is really drippy when they get a big handful and let it fall from up in the air, but they might not have noticed that it hardens up if they squeeze really tightly! This is also a good time to interject vocabulary and facts in to the conversation. With a toddler you might discuss the color of the substance, the feel of it, the sound it makes when it plops to the ground. With a grade schooler you might mention that oobleck is a polymer and discuss the properties of mater. Sensory play is great for all ages, there is always a way to modify an activity to be age appropriate!
How long will my sensory materials keep?

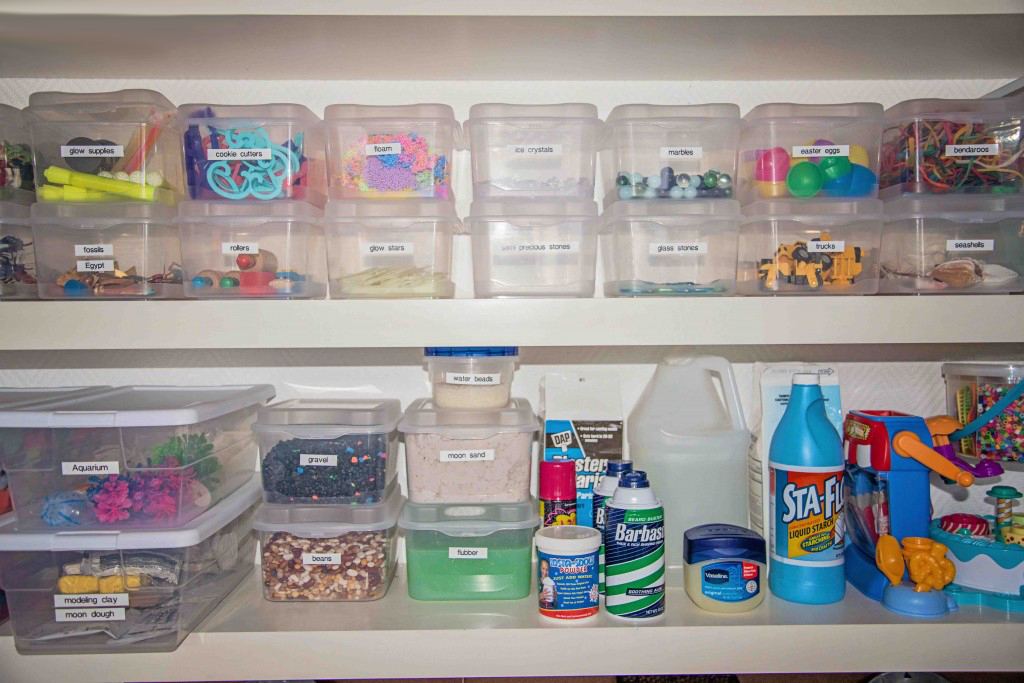
After you’ve gone to the trouble of concocting a sensory material and putting together a bin, you want it to last a little while in order to extend the play as long as possible. I prefer to keep all of my materials in plastic containers
Flubber (6 months), Cloud dough (6 months, store in an airtight container), Play dough (3 months, refrigerate), Modeling clay (6 months), Floam (6 months), Oobleck (one time use), Coffee dough (3 months, refrigerate), Clean mud (one time use), Ice cream dough (3 months, refrigerate), Fake snow (3 months, refrigerate), Marshmallow dough (3 months, refrigerate), Soap foam (one time use), Sand dough (6 months, store in airtight container).
Long story short, if it has baking ingredients + water then it will probably last about three months refrigerated. If it is made out of chemicals then it will be good for six or more.

In conclusion, I hope that this guide has been helpful in walking you through some of the thought process behind sensory play as well as how to start it in your own home. Despite the daunting amount of information and ideas out there, start simple with one material and build from there. You and your kids won’t regret it! If you have any questions, feel free to leave a comment, I would love to help point you in the right direction. Or, if you’d like to share your own sensory play tips and ideas in the comments, go for it!


