Beginner’s Guide to Night Sky Photography with Any Camera
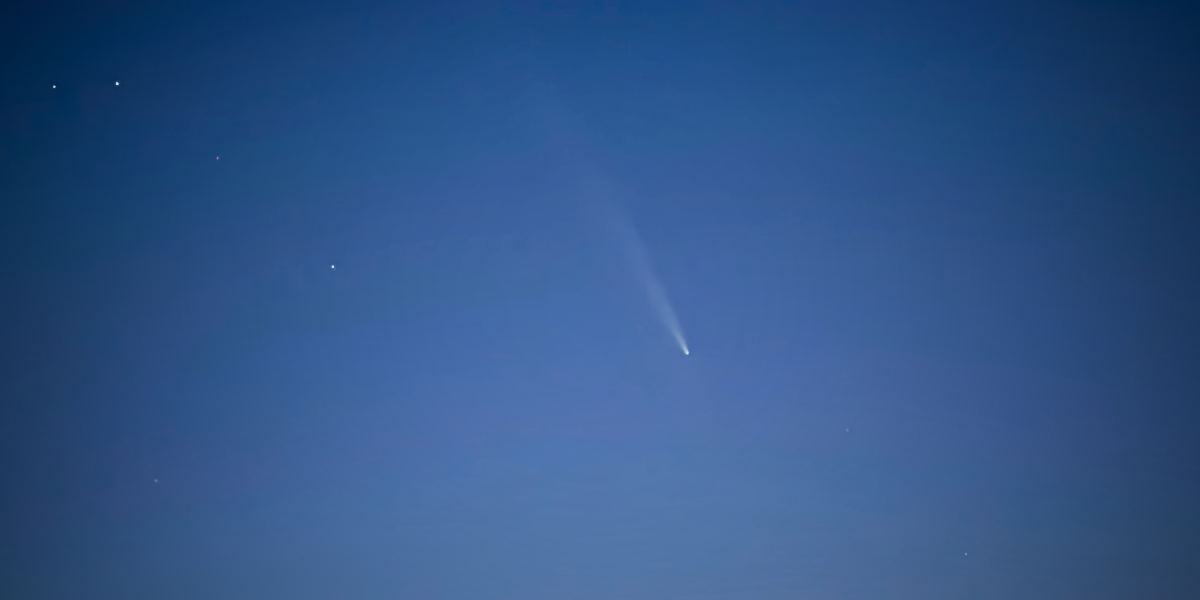
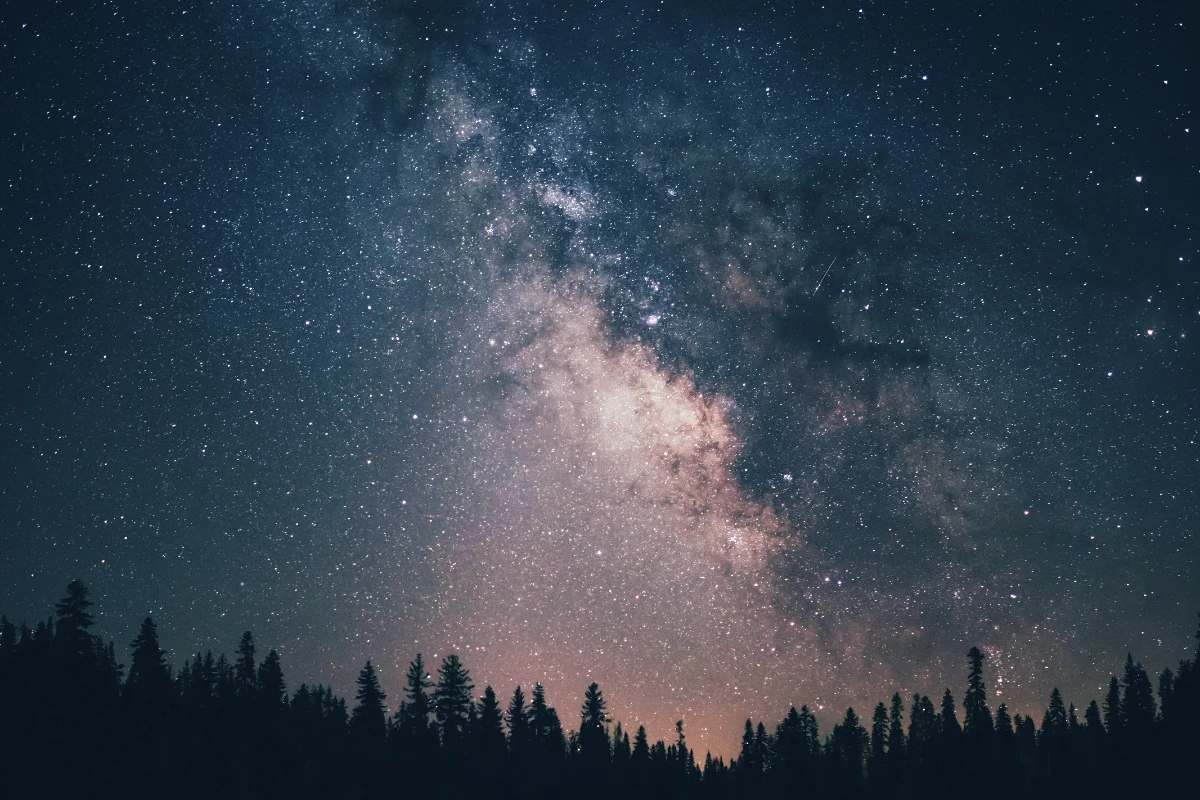
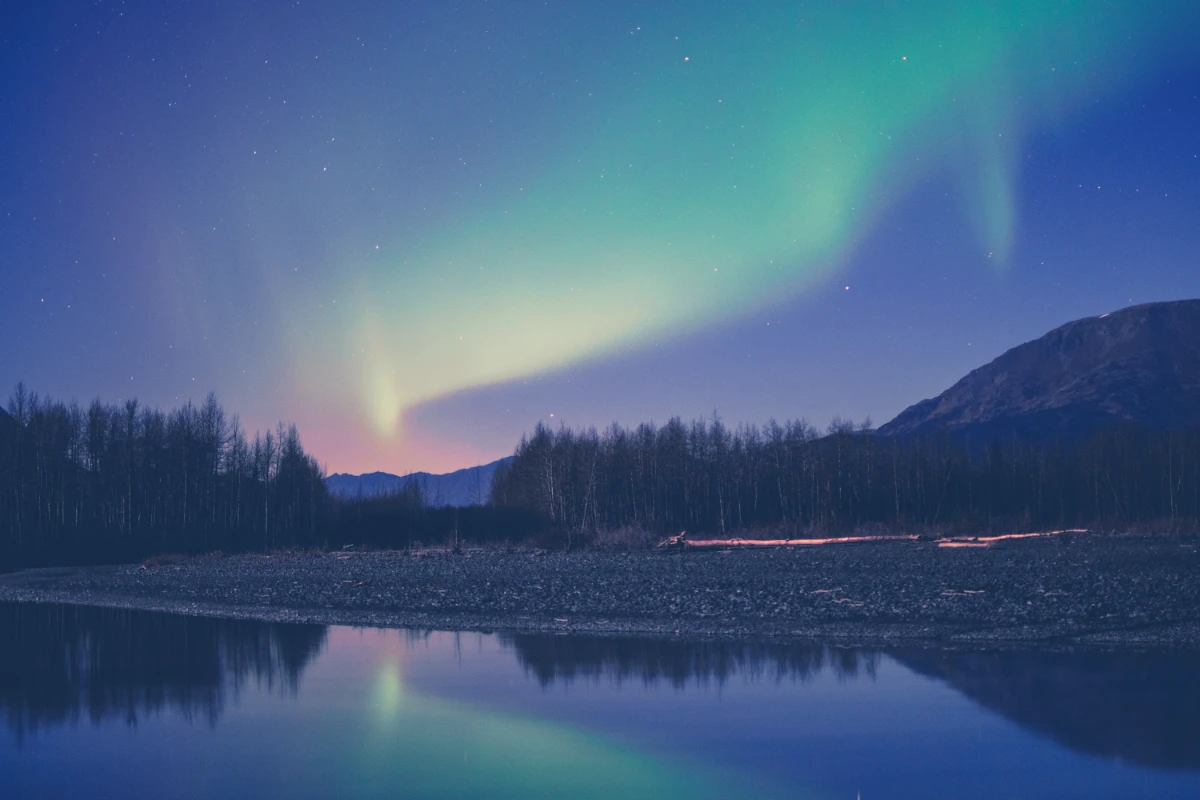
There’s something magical about standing under a star-filled sky, watching the Milky Way arc overhead. Even more magical? Capturing that moment with your camera and bringing it home. The good news is you don’t need professional astronomy equipment or an expensive camera setup to photograph the night sky. This guide will show you how to capture stunning Milky Way photos or other celestial events like comets, meteor showers, Aurora borealis (northern lights) etc. with basic gear you might already own.

The Essential Gear
Camera Requirements
You don’t need a professional-grade camera, but there are some minimum requirements:
- Any DSLR or Mirrorless Camera: Even entry-level models can work well
- Manual Mode Control: Essential for long exposures
- Wide-Angle Lens: Ideally 14-24mm range with a maximum aperture of f/2.8 or wider (f/1.8 or f/1.4 is even better)
- Tripod: Absolutely necessary for long exposures
- Remote Shutter Release: Optional but helpful (your camera’s self-timer can work in a pinch)
If you’re on a tight budget, even a used entry-level DSLR with a basic 18-55mm kit lens or even a GoPro can capture decent night sky photos. The results won’t match a high-end setup, but you’ll still capture more than the naked eye can see.
Smartphone Options
Modern smartphones with “Night Mode” or “Astrophotography Mode” can capture basic Milky Way photos. While the quality won’t match a dedicated camera, phones like the Pixel series, iPhone 15 Pro and newer, or Google Pixel 8 Pro and newer, Samsung Galaxy S23 Ultra and above can produce surprisingly good results when mounted on a tripod. See also our article on becoming an iOS Power User.
For those interested in pushing smartphone astrophotography to its limits, check out Shayne Mostyn’s Phone Photo School. Mr. Mostyn specializes in smartphone night photography and regularly tests the latest devices with comprehensive tutorials and comparisons between models like the iPhone 15 Pro and Google Pixel devices for astrophotography. On of his popular videos for getting started:
Planning Your Shoot
Location, Location, Location
The single most important factor isn’t your camera—it’s where you use it. You need:
- Dark Skies: Check DarkSiteFinder.com for light pollution maps
- Clear Weather: Check local astronomy forecasts using apps like Clear Outside or Astrospheric
- Milky Way Visibility: The galactic center is most visible from March to October in the Northern Hemisphere
- New Moon Phase: Plan your shoot during a new moon or when the moon is below the horizon
Apps That Help
Several free or low-cost apps can help you plan the perfect shot:
- PhotoPills: Shows you exactly where and when the Milky Way will appear
- Stellarium (free for desktop) or Stellarium Mobile: Helps identify celestial objects
- Dark Sky Meter: Measures how dark your location is
Camera Settings 101
The basic settings for Milky Way photography follow what photographers call the “500 Rule” (though many now prefer the more conservative “300 Rule” for modern high-resolution sensors):
Starting Settings
- Mode: Manual
- Format: RAW (essential for post-processing)
- Aperture: Widest possible (f/2.8 or wider)
- Shutter Speed: Use the 500 Rule – Divide 500 by your lens focal length (e.g., with a 20mm lens: 500 ÷ 20 = 25 seconds)
- ISO: Start at 1600-3200 and adjust as needed
- White Balance: 3500-4000K or “Tungsten”
- Focus: Manual focus set to infinity (but test this—sometimes infinity on your lens might be slightly off)
The 500 Rule Explained
The 500 Rule helps you determine the maximum exposure time before stars begin to show motion blur due to Earth’s rotation. With modern high-resolution sensors, many photographers now use a more conservative 300 Rule (300 ÷ focal length) for sharper stars.

Shooting Techniques
Focus is Everything
Achieving sharp focus is one of the biggest challenges in night photography:
- Set your lens to manual focus
- During daylight, focus on something very far away and note or mark where infinity focus sits on your lens
- At night, use your camera’s live view, find the brightest star or distant light, zoom in digitally, and adjust until it’s a sharp point
- Take a test shot, zoom in on the preview, and adjust if necessary
Composition Tips
- Include Foreground Elements: A silhouetted tree, mountain, or rock formation adds scale and interest
- Use the Rule of Thirds: Position the Milky Way’s core off-center for more dynamic compositions
- Try Different Orientations: The Milky Way can arch across the frame horizontally or vertically depending on time and location
Exposure Bracketing
If your camera struggles with the extreme dynamic range:
- Take one exposure optimized for the sky
- Take another exposure optimized for any foreground elements
- Blend them in post-processing
Beginner-Friendly Post-Processing
The RAW files straight from your camera will look underwhelming. Post-processing is essential to reveal what you’ve captured:
Simple Adjustments (in any basic editor)
- Increase Contrast: Brings out the distinction between stars and space
- Reduce Highlights/Increase Shadows: Recovers detail in bright and dark areas
- Boost Clarity or Structure: Makes the Milky Way’s details pop
- Adjust White Balance: Typically cooler for natural star colors or warmer for a more golden Milky Way
- Noise Reduction: Apply conservatively to reduce graininess while preserving detail
Free Software Options
- GIMP: Powerful free alternative to Photoshop
- RawTherapee: Excellent free RAW processor
- Darktable: Open-source alternative to Lightroom
Troubleshooting Common Issues
Problem: Stars are blurry or trailed
Solution: Shorter exposure time, wider angle lens, or consider a star tracker for longer exposures
Problem: Too much noise in the image
Solution: Find darker skies, use in-camera long exposure noise reduction, try exposure stacking
Problem: Can’t see the Milky Way at all
Solution: Confirm the galactic center is above the horizon, check for light pollution, ensure your exposure settings are correct
Beyond the Basics
Once you’ve mastered basic Milky Way photography, consider these techniques to take your images to the next level:
Panoramas
Capture multiple overlapping frames and stitch them together for a wider view of the Milky Way arching across the sky.
Stacking for Noise Reduction
Take multiple exposures (10-15) of the same composition and use software like Sequator (Windows, free) or Starry Landscape Stacker (Mac) to combine them, dramatically reducing noise while preserving detail.
Milky Way Timelapses
Set your camera to take images continuously over several hours to create stunning timelapses of the stars moving across the sky.

Your Night Sky Adventure Starts Tonight
The universe awaits your camera—even if it’s just a basic DSLR or smartphone. With the techniques in this guide, dark skies, and a sense of adventure, you can photograph celestial wonders most people only see in professional astronomy photos.
Each night shooting session builds your skills and your portfolio of stunning Milky Way images. The learning curve is part of the experience, so don’t be discouraged by initial results. The first time you capture that glowing galactic core rising over a silhouetted landscape, you’ll understand why night photographers brave the cold and dark.
Remember that stunning night photography is more about knowledge and technique than expensive equipment. Your basic camera has more potential than you might realize. So check the moon phase, pack your tripod, and head away from city lights—your own universe of photographic possibilities is waiting above.
Note: For even more stunning results, consider adding accessories like a star tracker (Sky-Watcher Star Adventurer Mini or iOptron SkyGuider Pro), which compensates for Earth’s rotation and allows much longer exposures without star trails.