Inspired by 19th century art and architecture, here is salt dough mosaic tiles activity to inspire creativity with your kids.
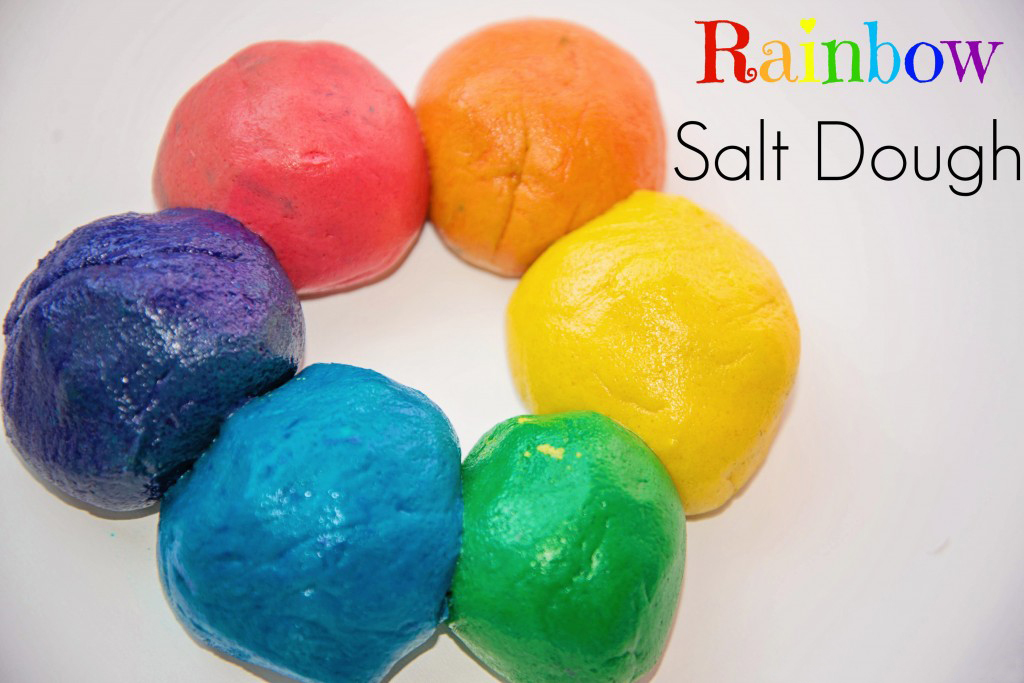
Rainbow Salt Dough Recipe
- 1 cup of salt
- 1 cup of water
- 2 cups of flour
- gel food colorings
Mix all of the ingredients, divide the dough in to as many colors as you’d like, add the colorant and then shape anything you desire! Clay will air dry in 24+ hours depending on the thickness. You can also bake it on 170 degrees for 3-4 hours if you need it dry sooner.
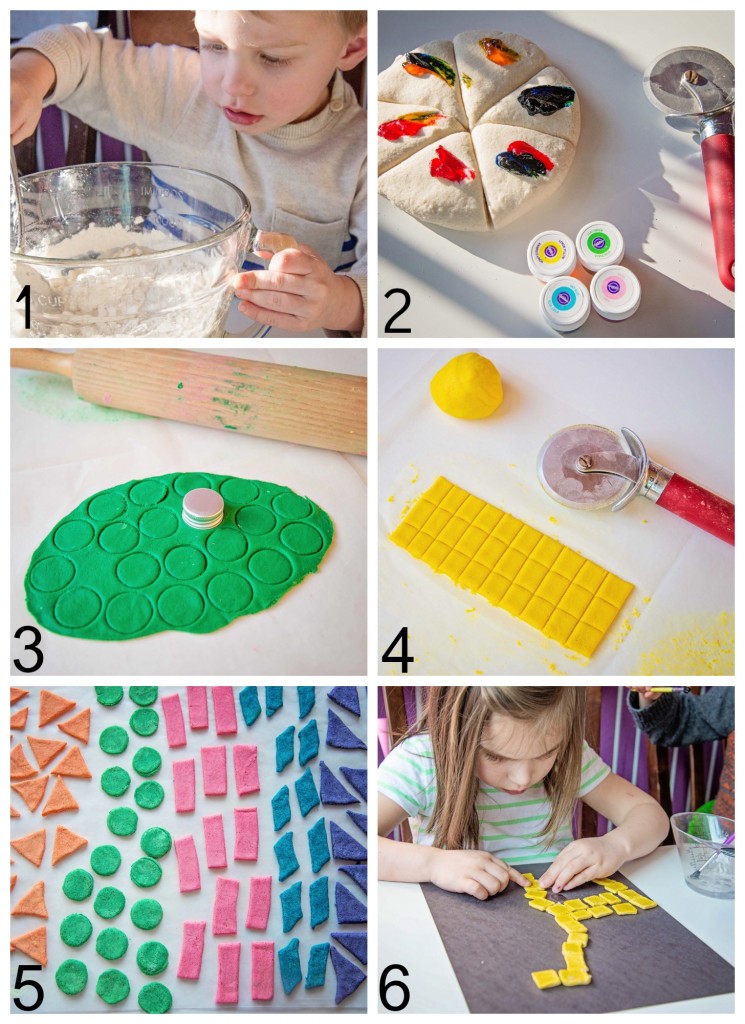
Salt Dough Mosaic Tiles
- Begin by mixing up a batch of salt dough (recipe above).
- Divide the dough in to as many colors as you would like and then add your colorant. I like these gel food colorings as they give nice vibrant colors.
- Roll out each color and punch out the shapes you’d like, a bottle cap makes perfect circles!
- A pizza cutter made cutting squares, rectangles, parallelograms, and triangles a breeze!
- Lay the mosaic tiles out on a piece of wax paper to dry, flip them every 12 hours and they’ll be dry in 24-36 depending on how thick you make them.
- Use glue to adhere the tiles to paper, picture frames, flower pots or anything else you can think of!

Another option would be to leave your salt dough white and then paint it when it was dry, this method would give you glossier tiles, but would be more time consuming.
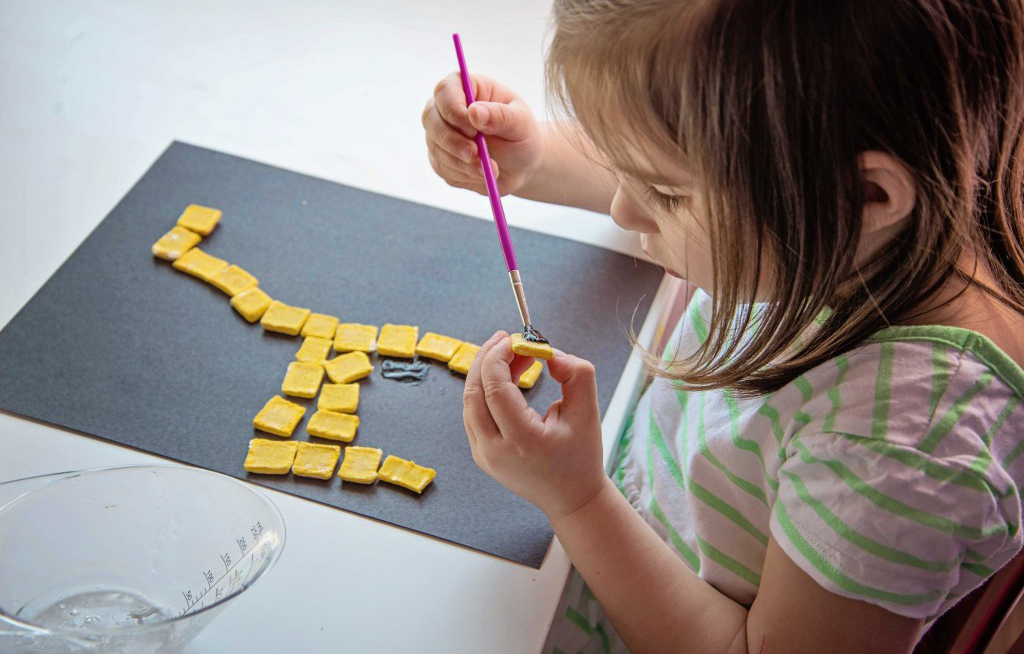
Once our tiles had dried, we set to work designing our mosaics. Aurora decided she wanted to make a giraffe, so I helped her plan where her tiles should go. This was a great opportunity to have her practice using a bit of forethought in designing her art as once a tile is stuck it’s hard to undo!
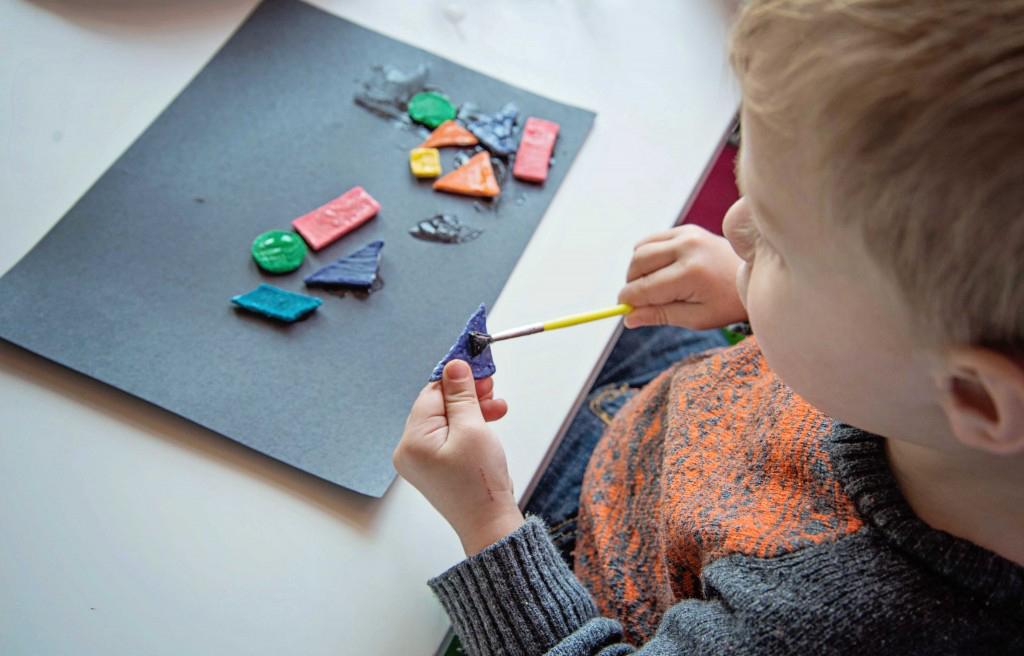
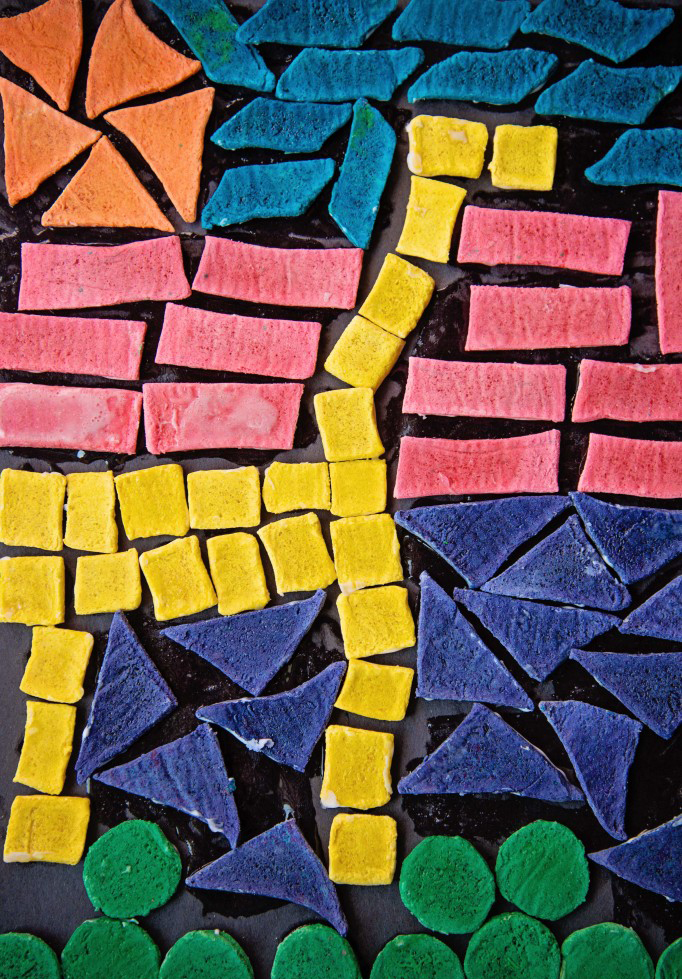
Here’s the finished giraffe, I think it’s pretty darn adorable in my completely biased opinion! I made a flower design with them too, which you can see up top.
This post contains Amazon Affiliate Links.